Home / Product Setup & Usage / Configuration
Define Drives
Use the Define Drives page to identify the shared drives whose data you plan to migrate in your project.
Note that you will need to provide drive identifiers in the relevant columns. For Google shared drives, this is the string of characters at the end of the shared drive’s URL. For example:
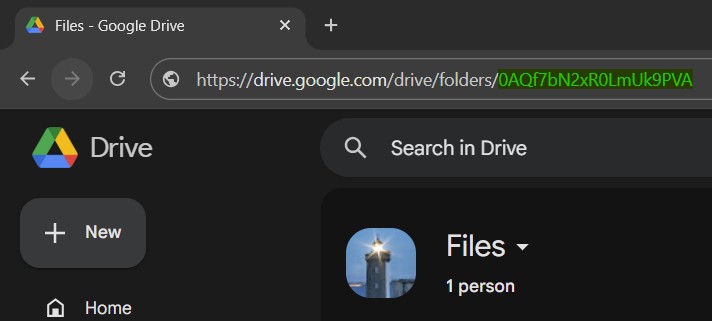
SharePoint Online document library identifiers are in the following format:
b!XqYV8wtZv6HrOGnntwbqI2fSEEAFVWb-CGi5fpIXapJJmlPhGWpsKyJjYK0dkcRo
Unfortunately, Microsoft does not provide a way to get the document library identifier via the UI, so this will need to be collected via API tools. Contact Transend if you need assistance gathering these identifiers.
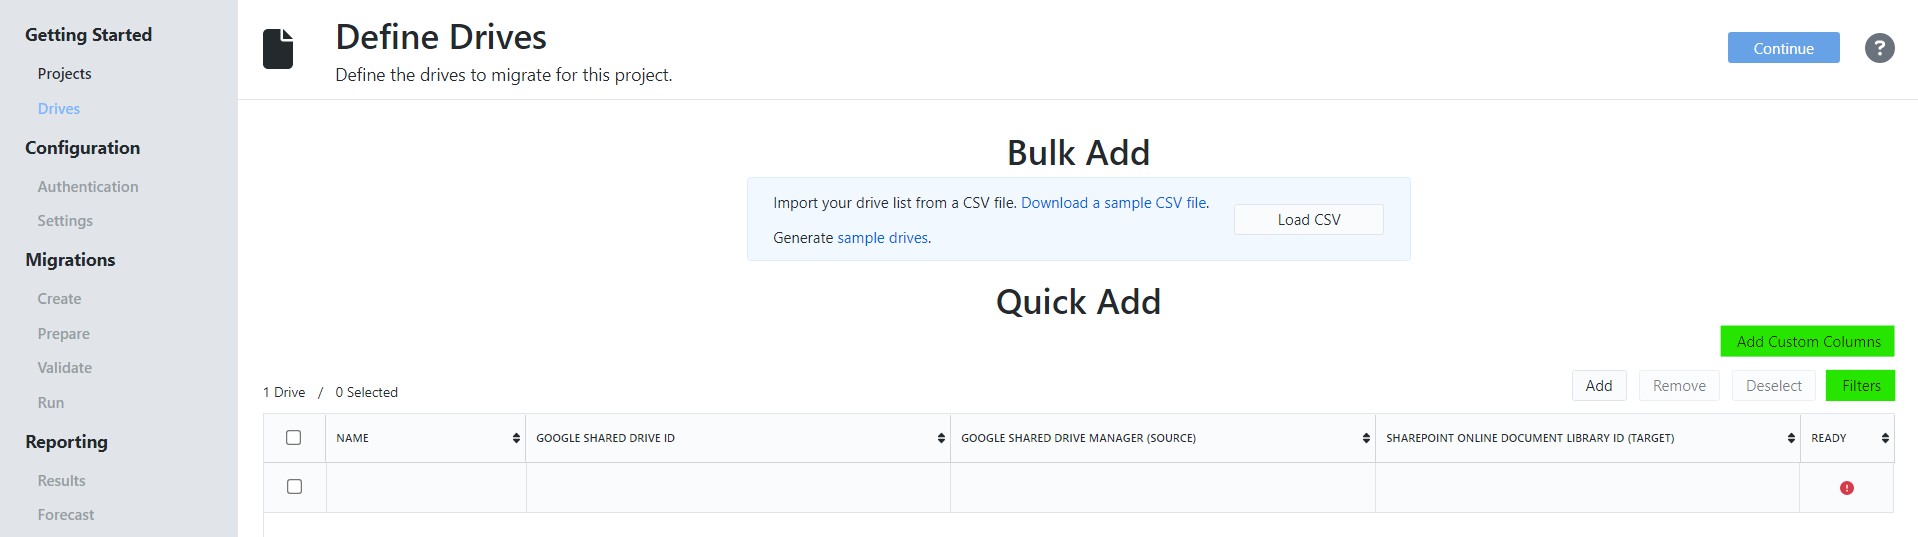
Quick Add
The Quick Add section is handy for projects with a small number of drives. Manually fill in the required information for each column. Incomplete rows are indicated by a red error icon in the last column.
Bulk Add
If you have many drives, download a CSV template by clicking the Download a sample CSV file link. You can either use your own tooling to generate a list of drives in that format or collaborate with other admins to update the file.

If you already have drives added to the table and attempt to perform a bulk add, you will have the option to remove duplicates, which is the recommended practice.
When you have finished adding drives to the table, click Continue to move to the next step.
Add Custom Columns
You may optionally add custom columns by clicking the Add Custom Columns button. Adding custom columns can be a useful way to organize your drive list into different batches.
We have included some frequently used columns that can be selected, or you may add column names of your choosing by entering them into the Other field. Click Add and then Save to return to the drive table.
Filters
Select a filter to display only the drives that match the selected criteria.