Disable Antivirus
Antivirus scanning can significantly reduce migration performance and can potentially lead to migration failures.
The most reliable way to ensure antivirus scanning doesn’t interfere with migration processing is to disable antivirus on all machines performing migrations. However, we realize this can introduce security concerns that are prohibitive for many organizations.
Create Directory Exclusions
Alternatively, you can create antivirus exclusions for the following directories:
C:\Windows\Temp
C:\ProgramData\Transend
C:\Program Files (x86)\Transend Corp\Console Services
C:\Program Files\Transend Migration Agent
C:\Program Files\Transend Migration Console
C:\Program Files (x86)\Transend Corp\Console Services
C:\Users\< username >\AppData\Roaming\Transend Migration Agent
C:\Users\< username >\AppData\Roaming\Transend Migration Console
We also recommend disabling all vulnerability scanning software, such as SPAM filtering, and any other network scanning that reduce migration performance.
Windows Security Settings
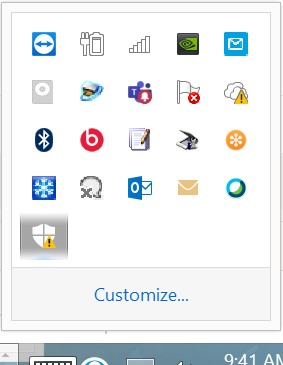
Click on Windows Security in the system tray found in the lower-right corner of your screen. Check for any antivirus software and/or Windows Defender.
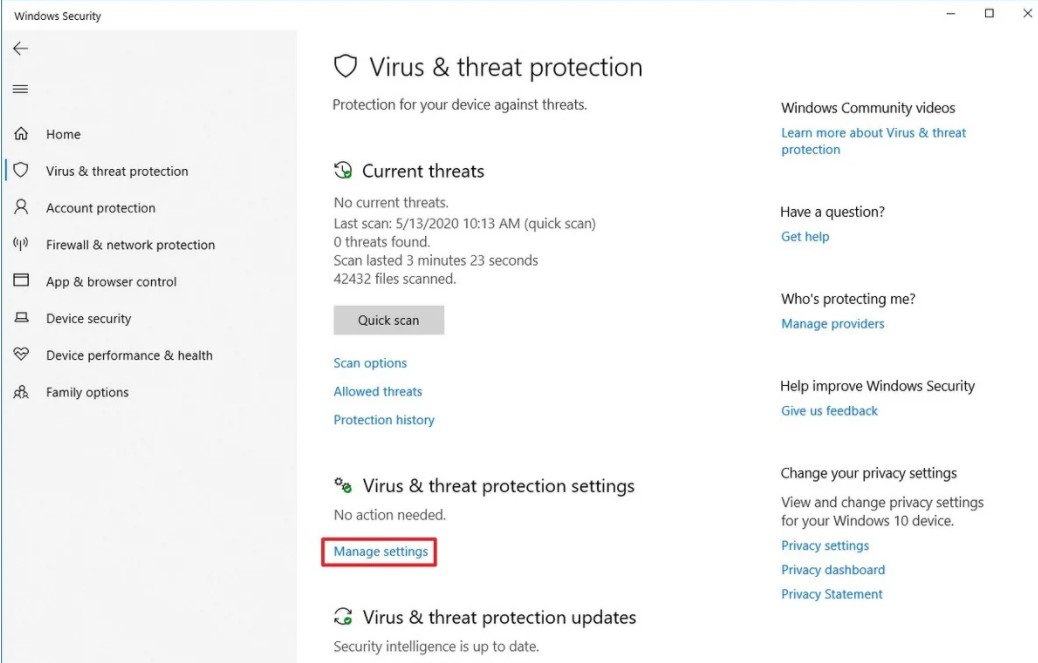
Click on Virus & threat protection
Click on Manage settings
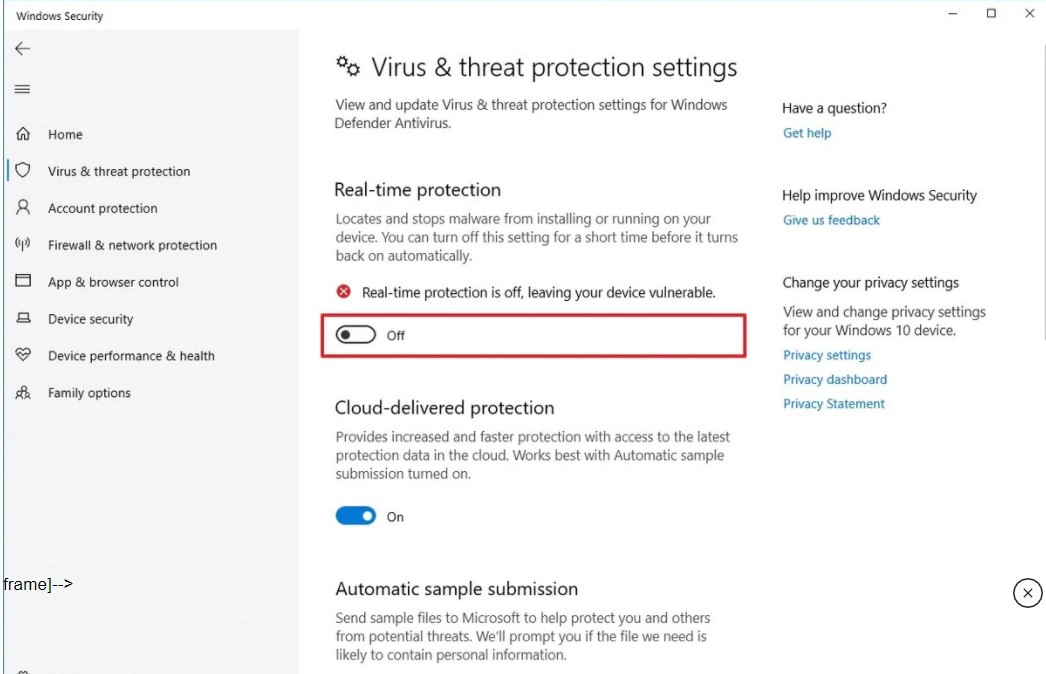
Turn Off Real-time protection
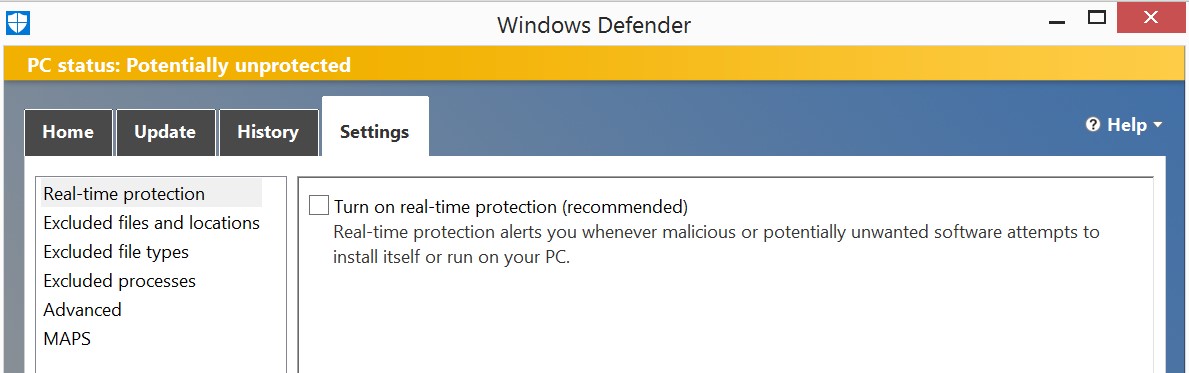
Disable from Control Panel
Open Control Panel and Search for Windows Defender.

Click Settings
Uncheck Turn on real-time protection
Click Save
Alternatively, you may disable Windows Defender form your Registry.
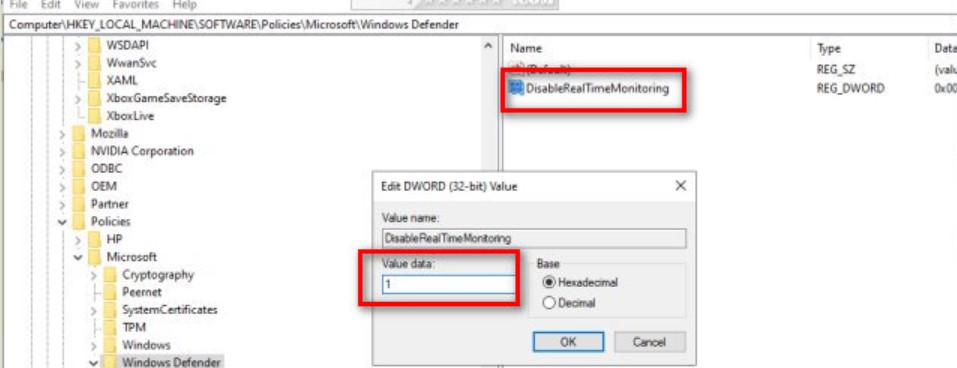
Disable from Registry
Open the Registry Editor and go to HKEY_LOCAL_MACHINE\SOFTWARE\Policies\Microsoft\Windows Defender.
Right-click on the right window and select New > DWORD > 32-bit Value. Name the new DWORD: DisableRealtimeMonitoring.
Set the Value data to 1 to disable and delete the DWORD you created to enable.