Home / Product Setup & Usage / Configuration
Batch Variables
Batch variables are configuration options that allow you to substitute user-property values with variables to simplify your configuration. They replace user-property values in your main configuration and map to a table with defined user-properties.
Default Variables
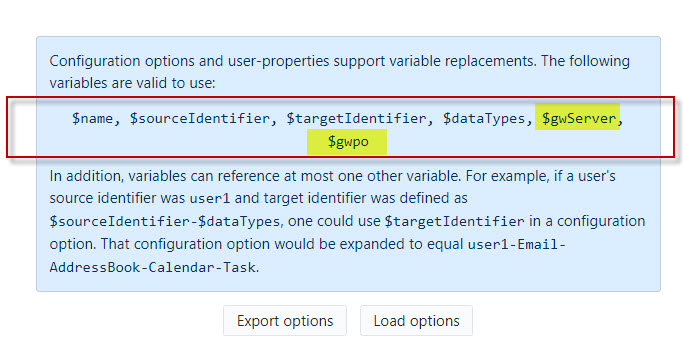
There are select variables that are available by default and available for use:
- $name – column 1 user name
- $sourceIdentifier – column 2 (source user login)
- $targetIdentifier – column 3 (target user login)
- $dataTypes – Email, Contacts, Calendar, Tasks/To-Do Items
Custom Variables
You may also create your own custom variables. To use custom variables, define the variable in the User List in a Custom Column and then use the defined ${variable} in the configuration.
Using Batch Variables with TMC 3.x
The following defines steps to use batch variables in your configuration with Transend Migration Console v3.x. For instruction with v2.x, scroll to the bottom of the page.
Example:
The following example defines how to create a new variable for a GroupWise Post Office. This is just an example and should be customized for your environment.
-
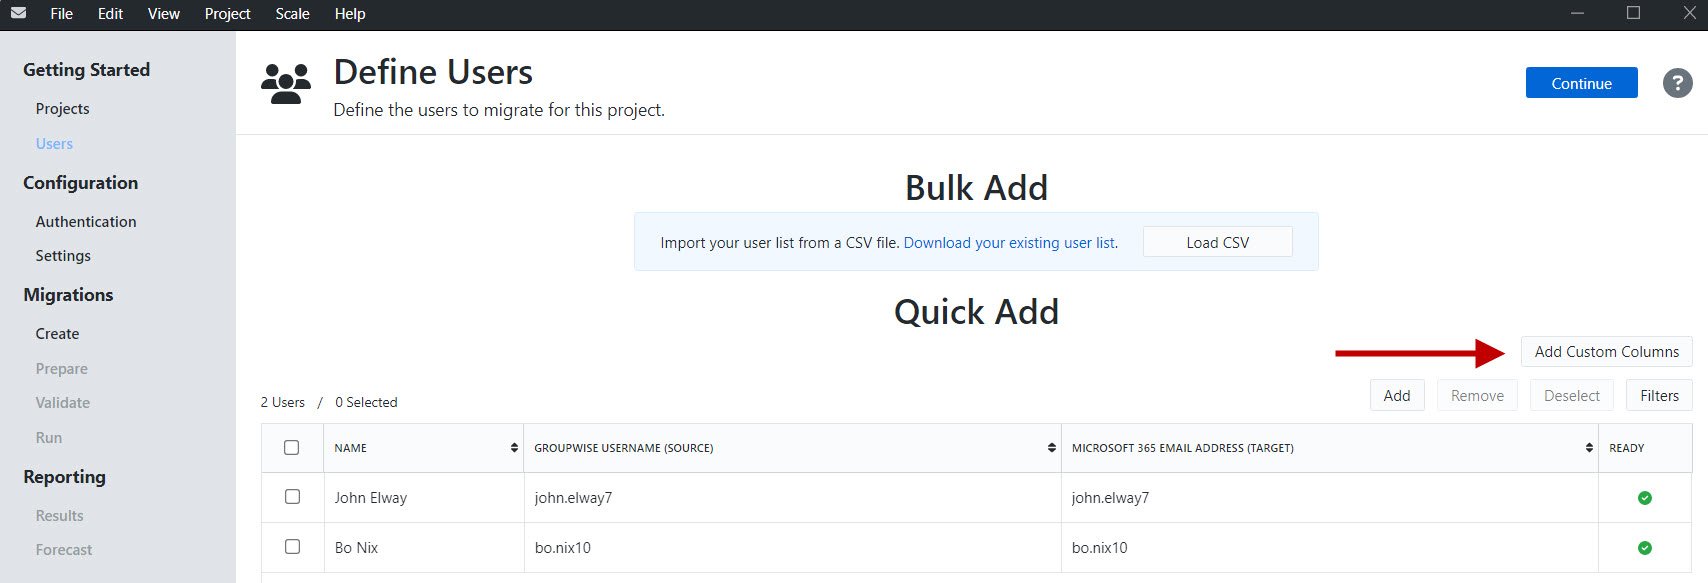
On the Users screen, click the Add Custom Columns button.
-
In the Add Custom Columns window, add GWServer and GWPO and click the Add buttons for each row. Click the Save button.
.jpg)
-
You will now see the custom columns added to the User List. Enter the appropriate values in the new column fields.

-
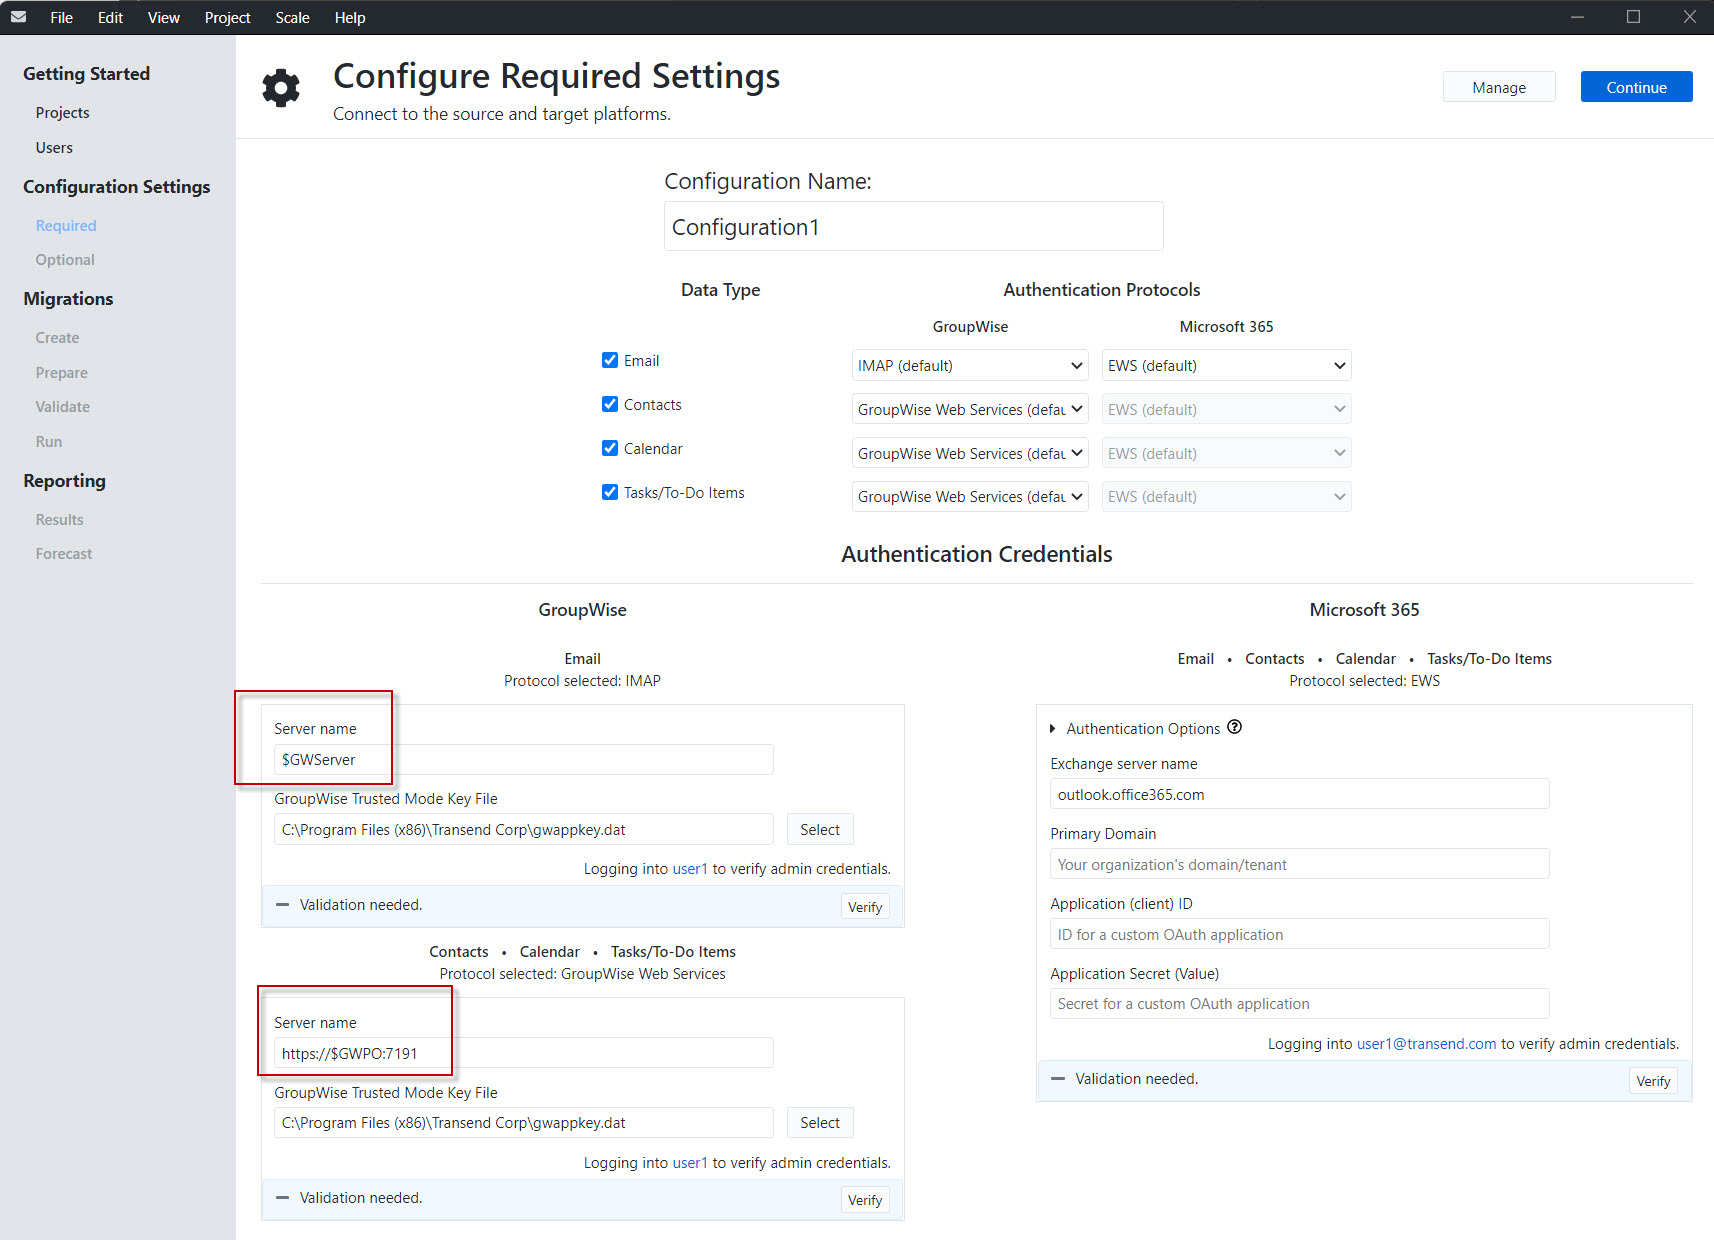
In the Configuration > Authentication screen, enter the variables in the appropriate fields.

Using Batch Variables with TMC 2.x
The following defines steps to use batch variables in your configuration with Transend Migration Console v2.x.
Example:
The following example defines how to create a new variable for a GroupWise Post Office. This is just an example and should be customized for your environment.
-
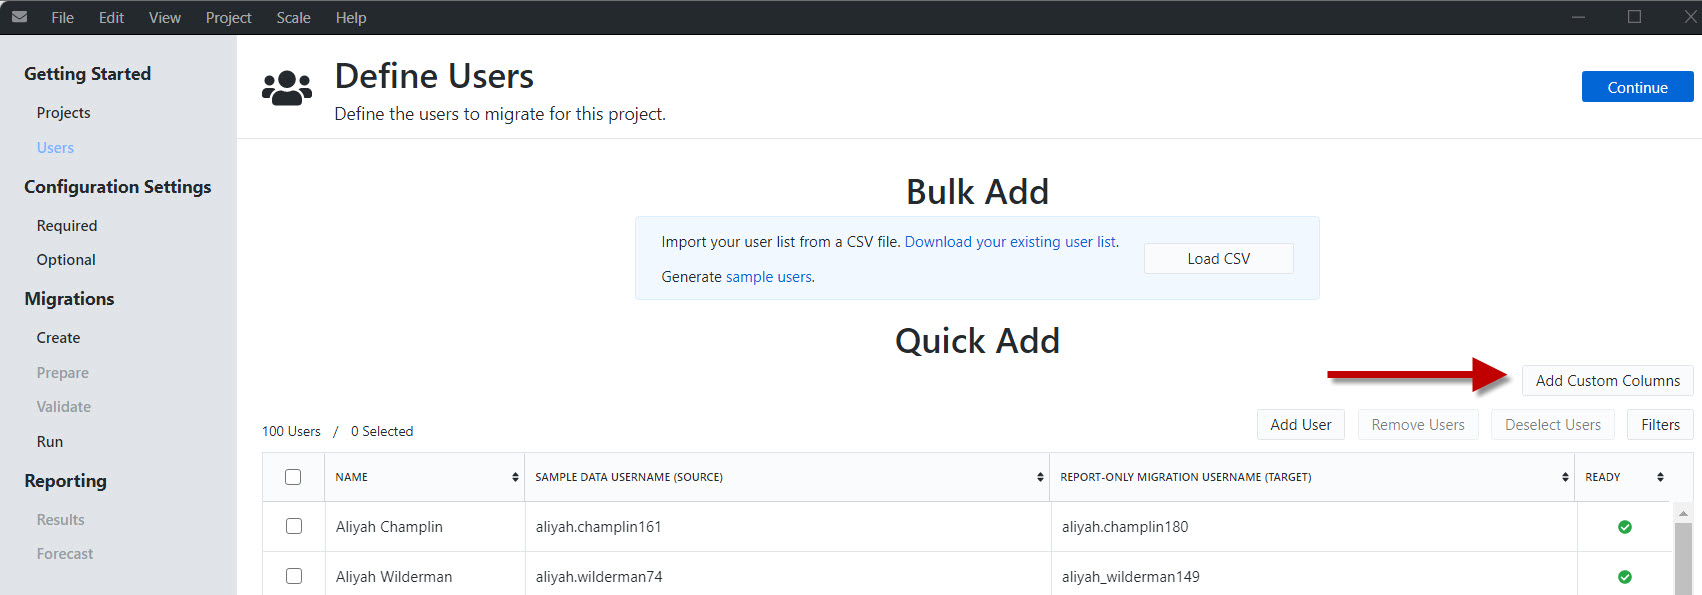
On the Users screen, click the Add Custom Columns button.
-
In the Add Custom Columns window, add GWServer and GWPO and click the Add buttons for each row. Click the Save button.
-
You will now see the custom columns added to the User List. Enter the appropriate values in the new column fields.

-
In the Configuration Settings > Required screen, enter the variables in the appropriate fields.
-
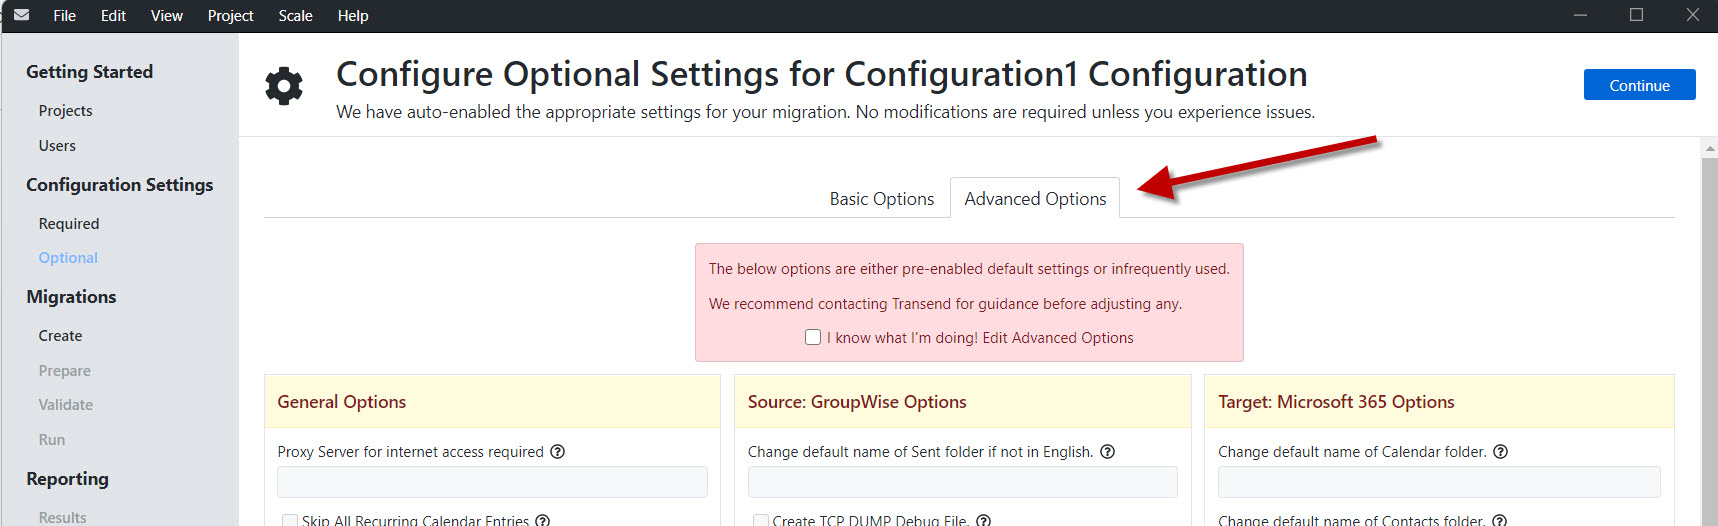
In the Configuration Settings > Optional screen, click the Advanced Settings tab at the top.
-
Scroll to the bottom of the Advanced Settings and you will now see the custom variables displayed in configuration options box.