Home / Platform Considerations / M365 Authentication Options
EWS Modern Authentication (OAuth 2.0)
When migrating to or from Exchange Web Services (EWS) with Modern Authentication (OAuth 2.0), you must create an application that Transend uses to perform an administrative driven migration.
Create your Application
Create an application that is unique to your organization in order to receive an Application ID and Application Secret that you will input into Transend Migration Console during configuration.
-
Log into Microsoft Entra admin center as an administrator.
-
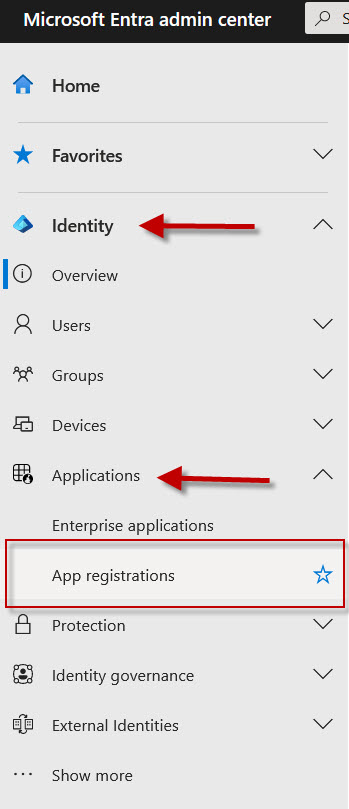
Click Identity > Applications > App registrations.
-
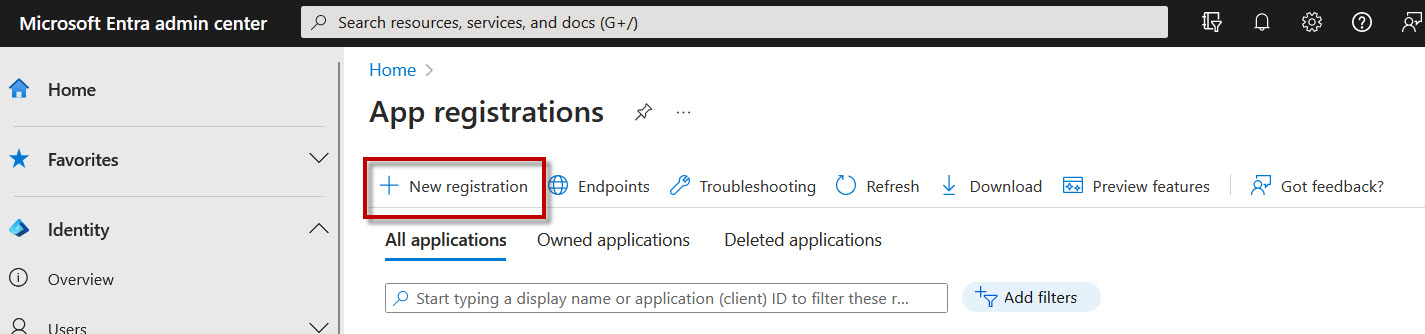
Click New registration.
-
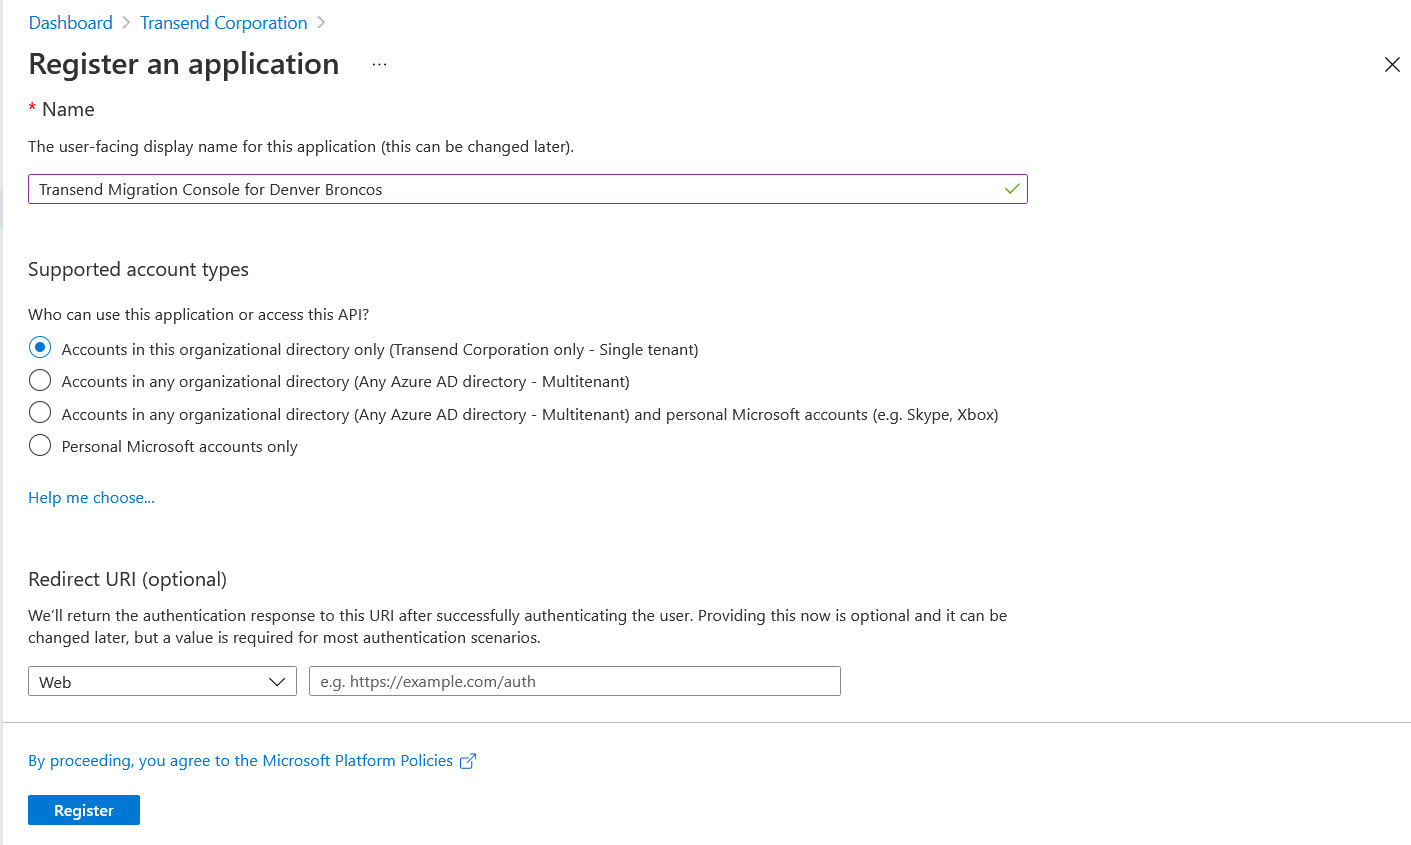
Select any name for your app (i.e. Transend Migration Console for XYZ Corp).
-
Set the account type to Accounts in this organizational directory only. Do not enter a Redirect URL.
-
Click Register.
-
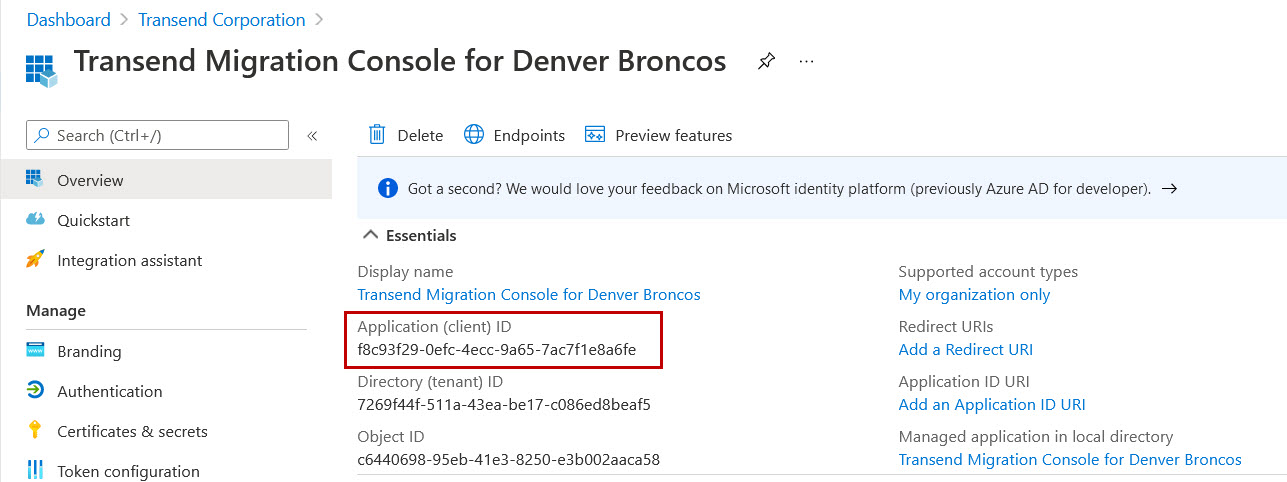
Once successfully registered, copy the Application (client) ID. You will eventually need to enter this into Transend Migration Console.
-
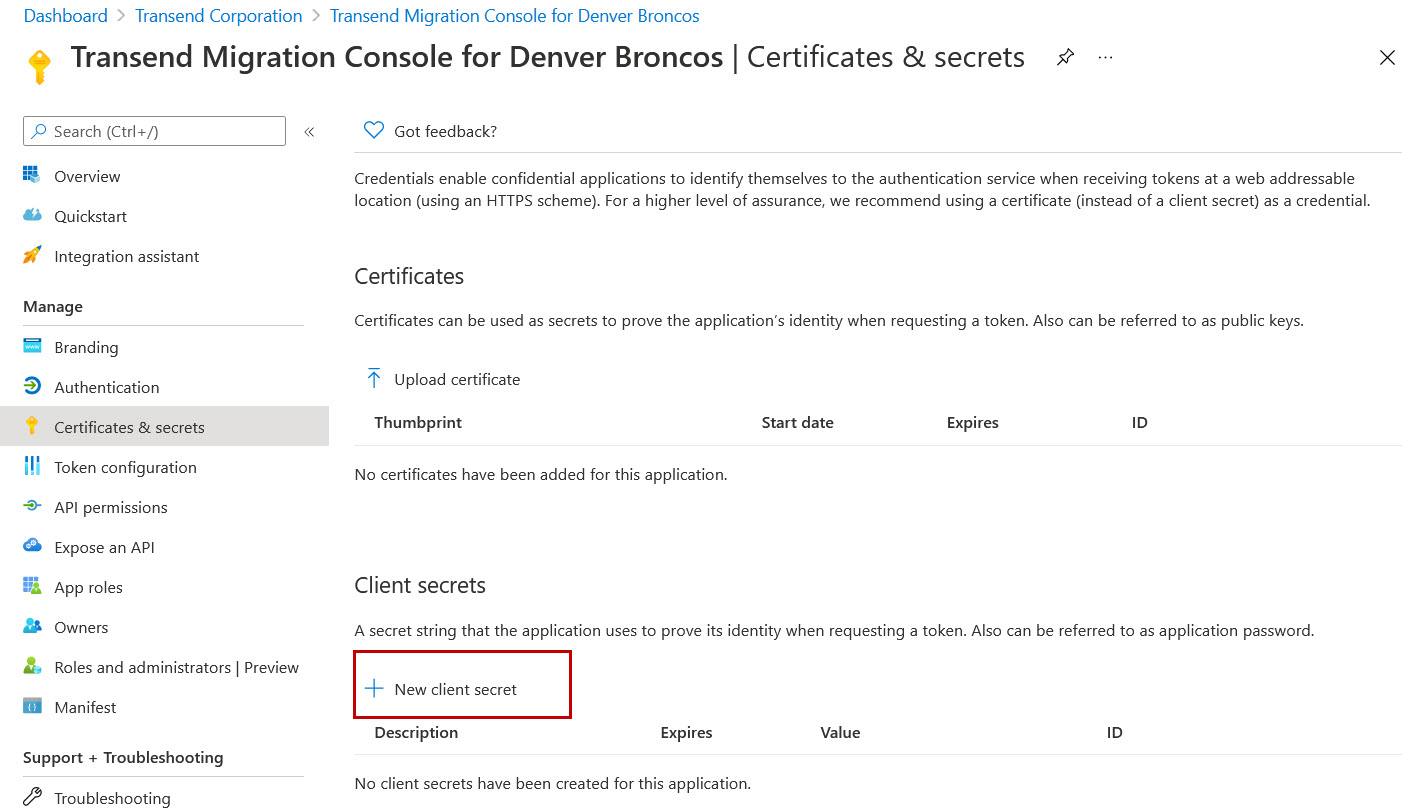
Click Manage > Certificates & Secrets.
-
Click New client secret.
-
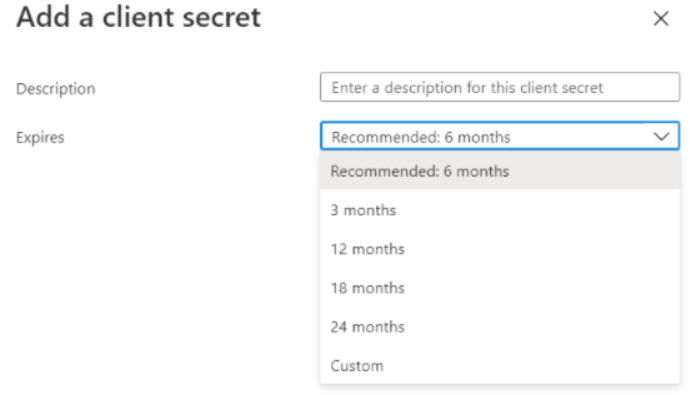
Add a secret and expiration and click Add.
-
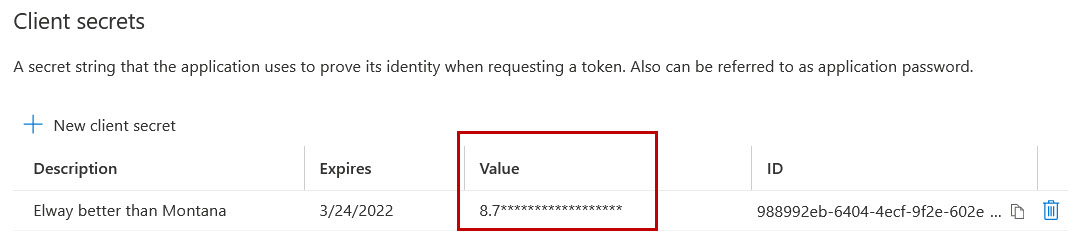
Copy your secret’s Value to notepad. You will eventually need to enter this into Transend Migration Console.
-
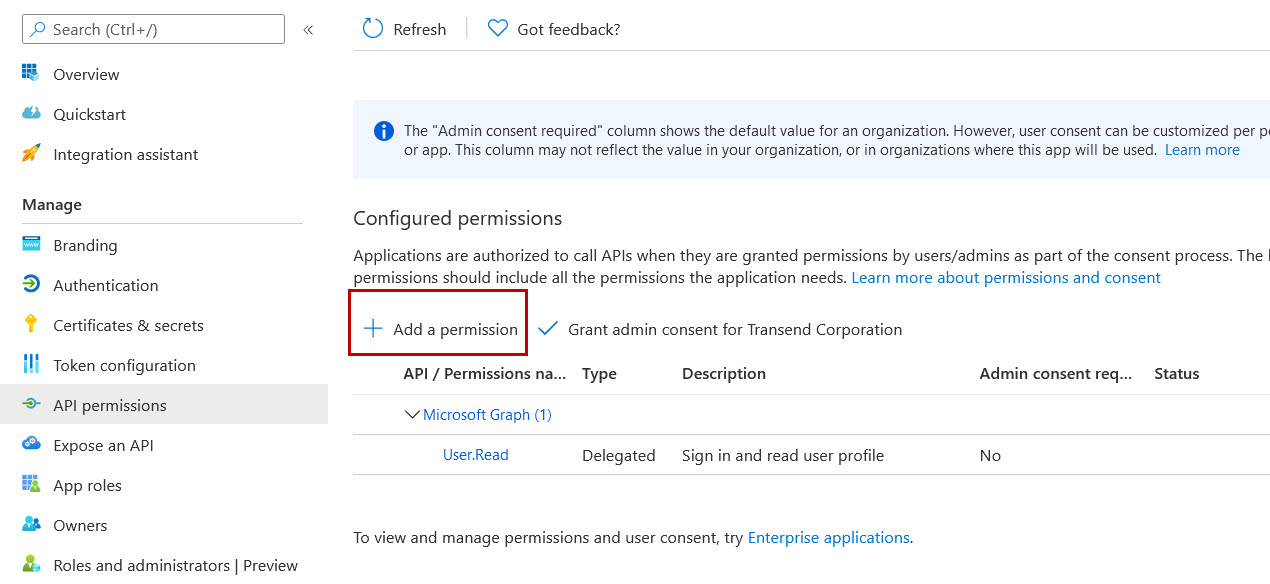
Click API Permissions > Add a permission.
-
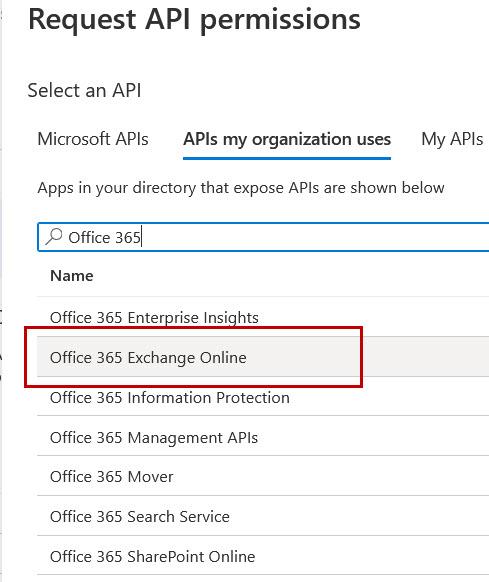
Click the APIs my organization uses tab.
-
In the search bar, enter Office 365 and select Office 365 Exchange Online.
-
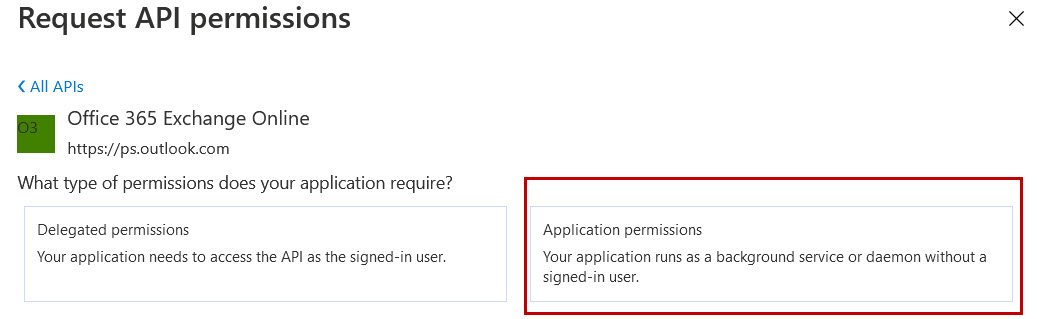
Click the Application permissions box.
-
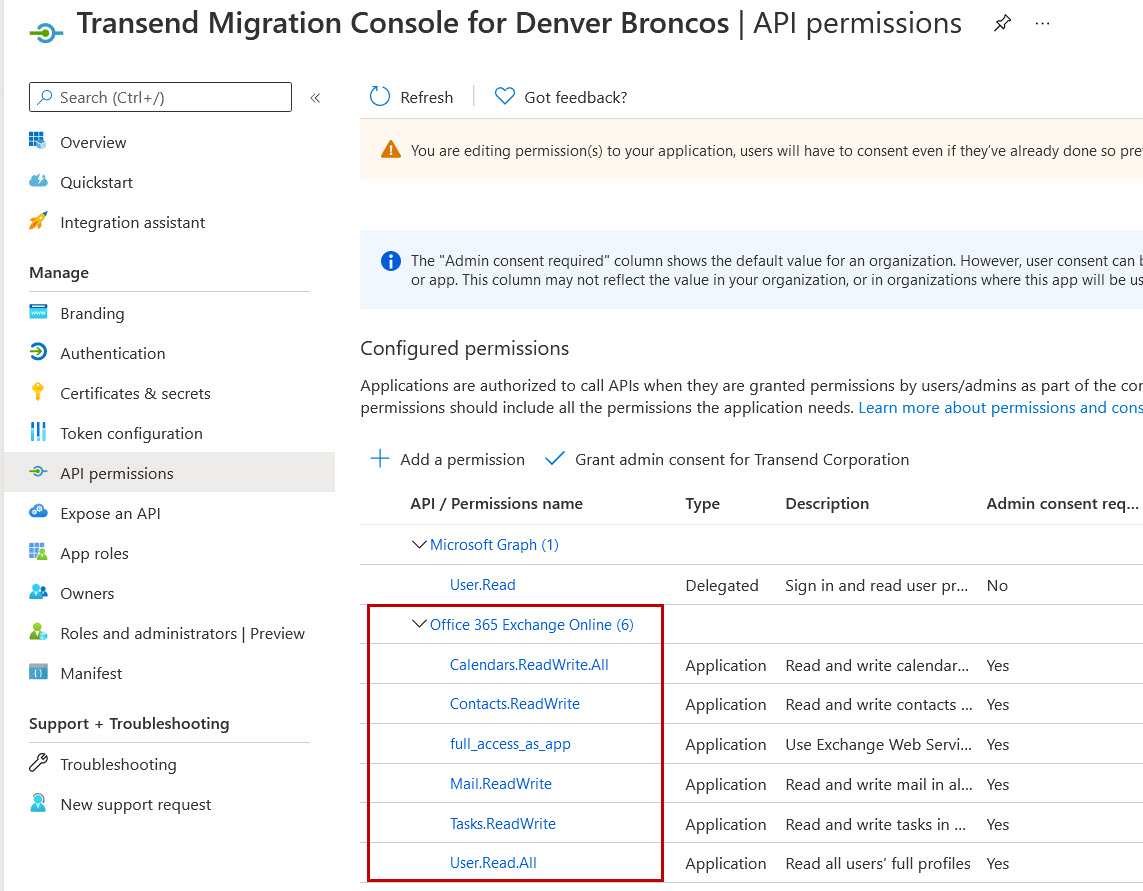
Click the checkbox to add the following API Permissions:
- Other permissions > full_access_as_app
- Calendars > Calendars.ReadWrite.All
- Contacts > Contacts.ReadWrite
- Mail > Mail.ReadWrite
- Tasks > Tasks.ReadWrite
- User > User.Read.All
-
After checking the box of all the above referenced permissions, click Add permissions at the bottom of the page.
-
You will now see the selected permissions listed in the Office 365 Exchange Online section.
-
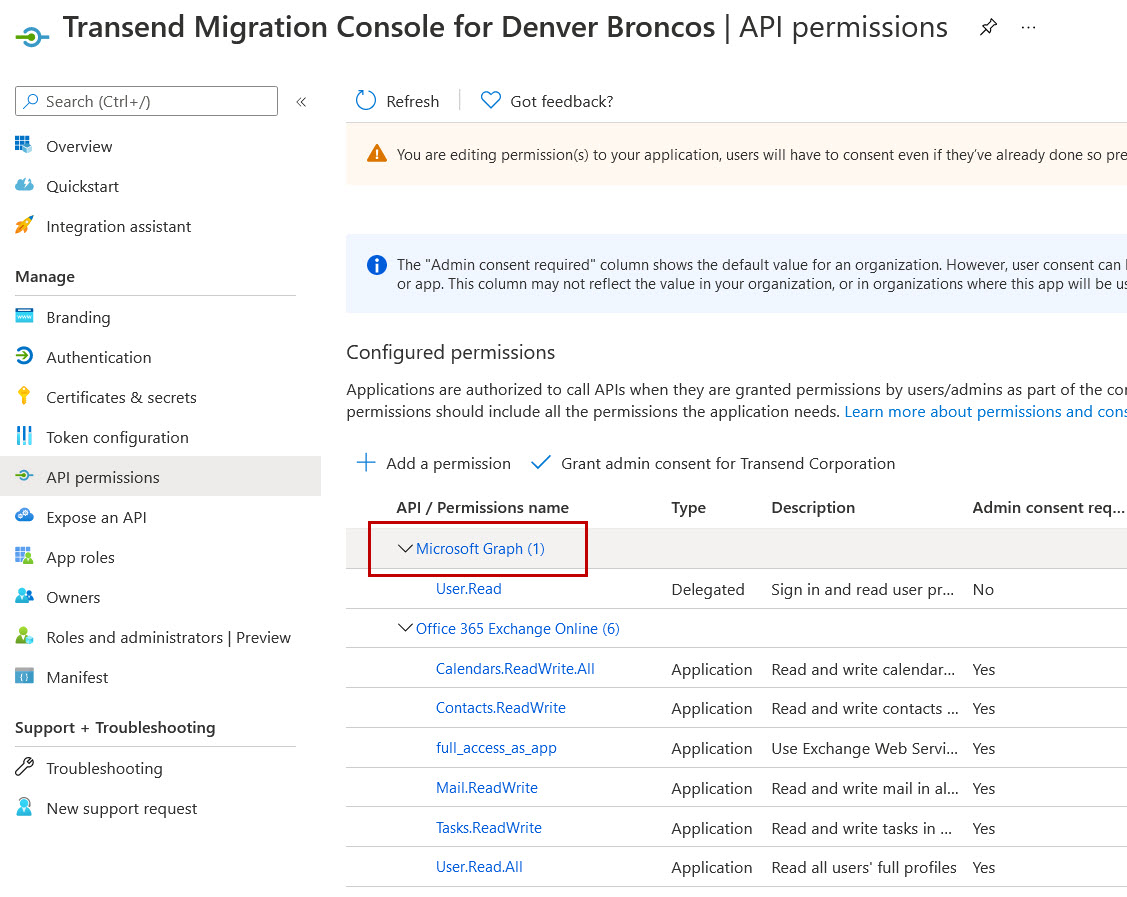
On the API Permissions page, select Microsoft Graph.
Important: If Microsoft Graph has not previously been added, you must first add Microsoft Graph before completing Steps 20 – 23.
-
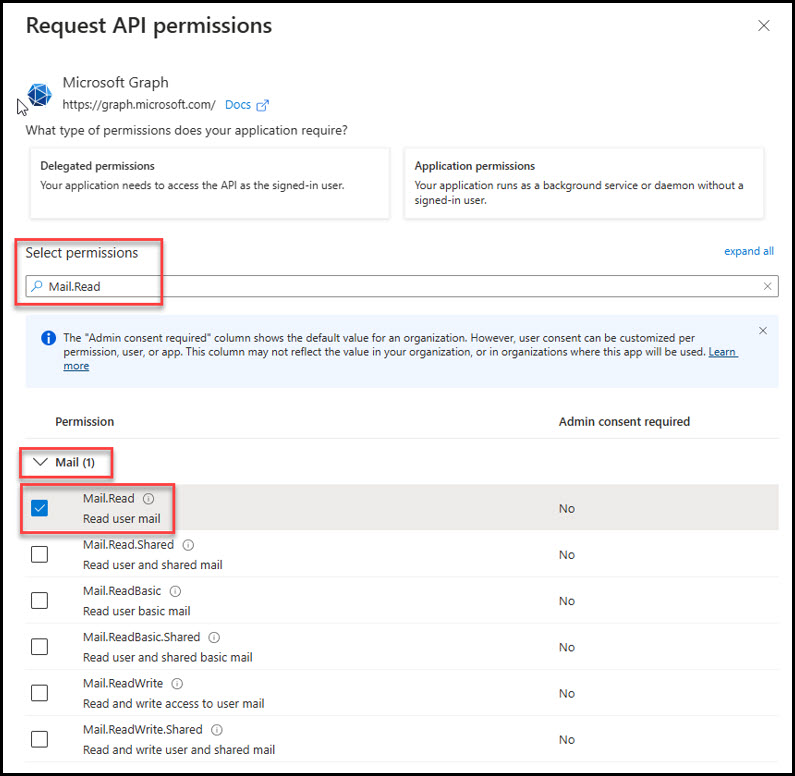
Select Microsoft Graph to open a “Request API permissions” screen. Select the Applications permissions box and then type Mail.Read into the Select permissions search field. Expand the Mail section and check the box for Mail.Read.
-
Click Update permissions at the bottom of the screen.
-
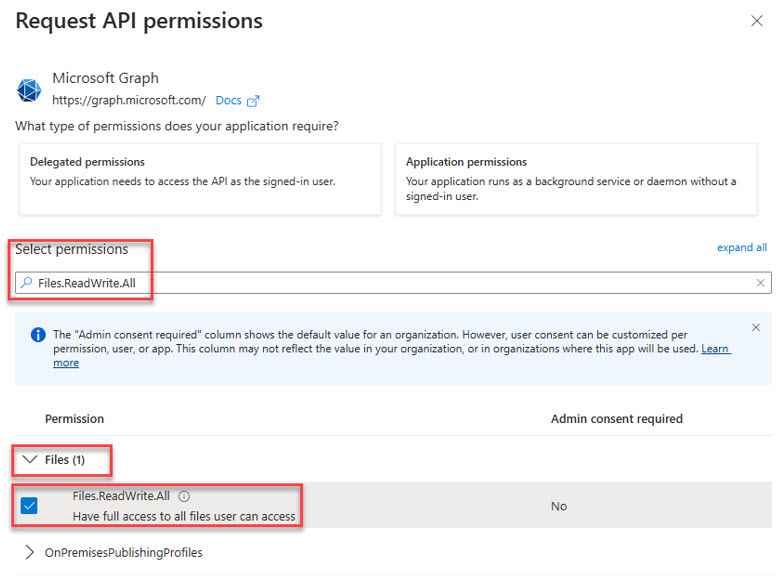
Select Microsoft Graph again to open a “Request API permissions” screen. Select the Applications permissions box and then type Files into the Select permission search field. Expand the Files section and check the box for Files.ReadWrite.All.
-
Click Update permissions at the bottom of the screen.
-
You will now see the new File permissions added for uploading attachments to OneDrive. This is optional in Transend Migration Console but can be useful when migrating oversized attachments.
-
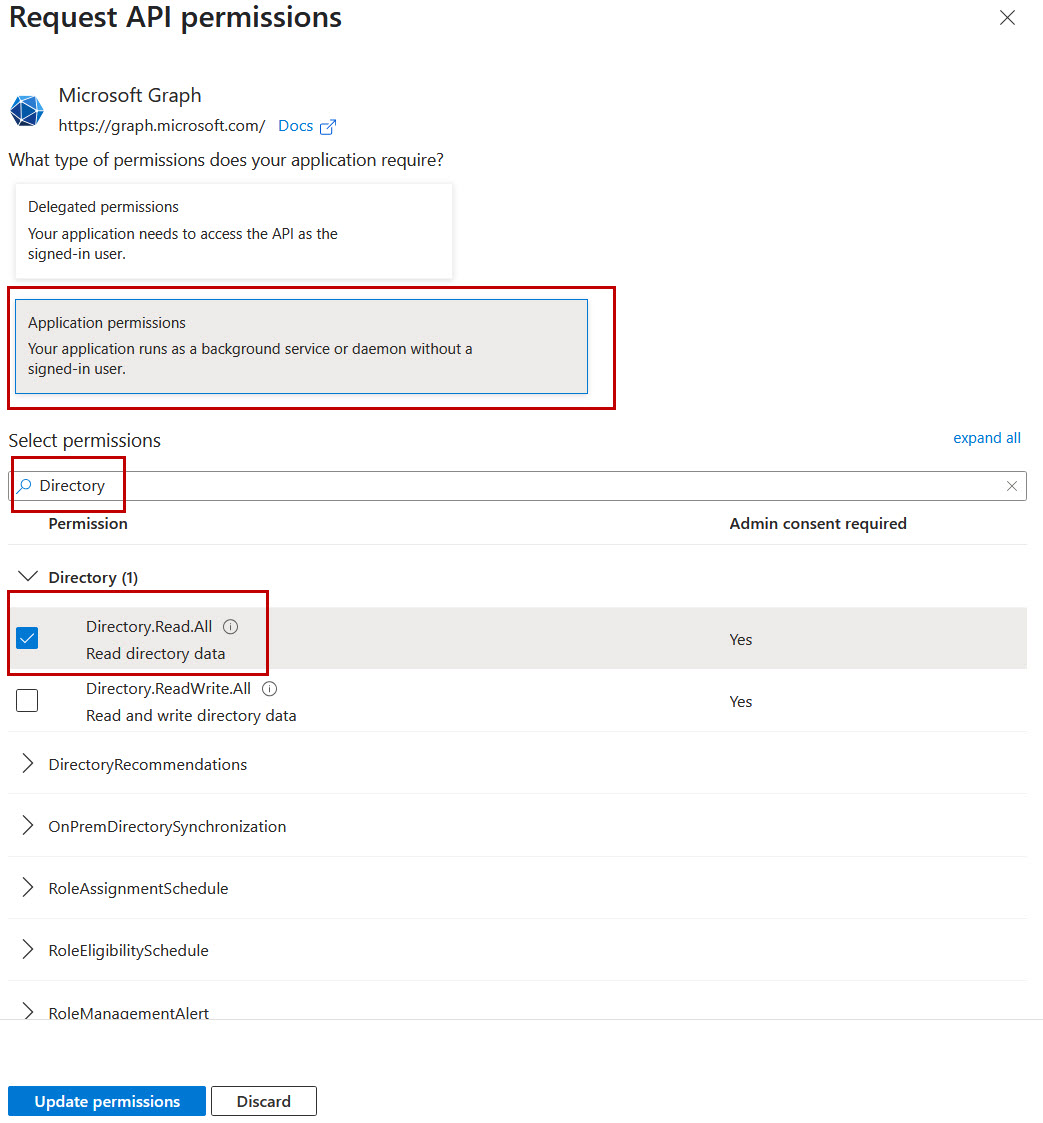
Select Microsoft Graph again to open a “Request API permissions” screen. Select the Applications permissions box and then type Directory into the Select permission search field. Expand the Directory section and check the box for Directory.Read.All.
-
Click Update permissions at the bottom of the screen.
-
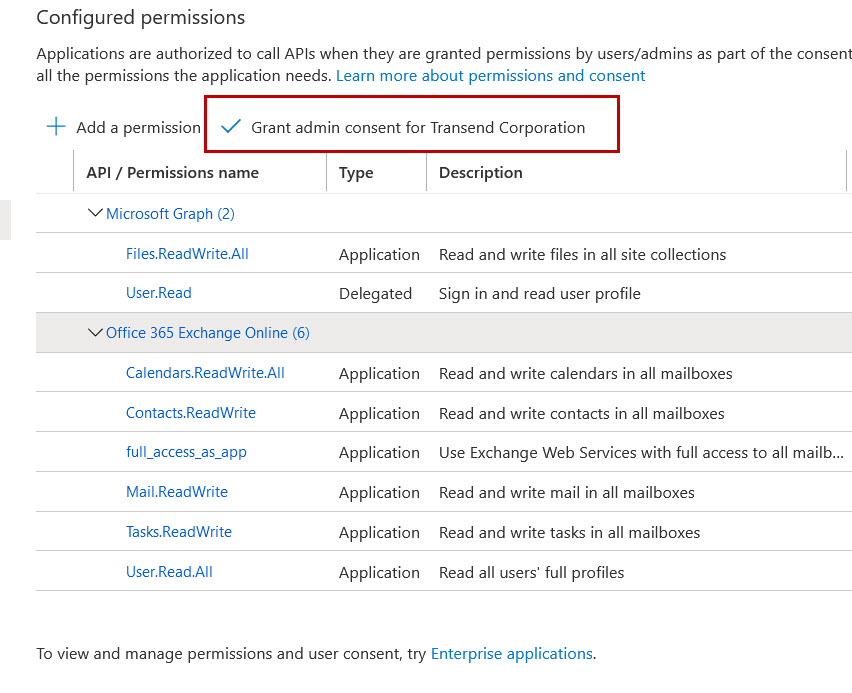
In the Configured permissions section, click Grant admin consent for [your organization], and then click Yes in the dialog box.
-
Congratulations! Admin consent has been successfully granted.

-
In Transend Migration Console, navigate to the Configuration Settings > Required screen.
-
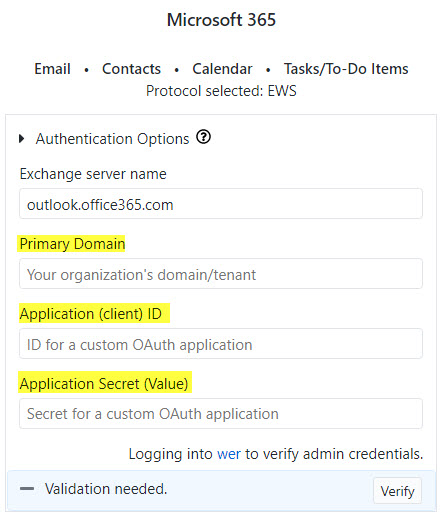
Enter values into the following fields:
-
Primary Domain
-
Application (client) ID
-
Application Secret
-